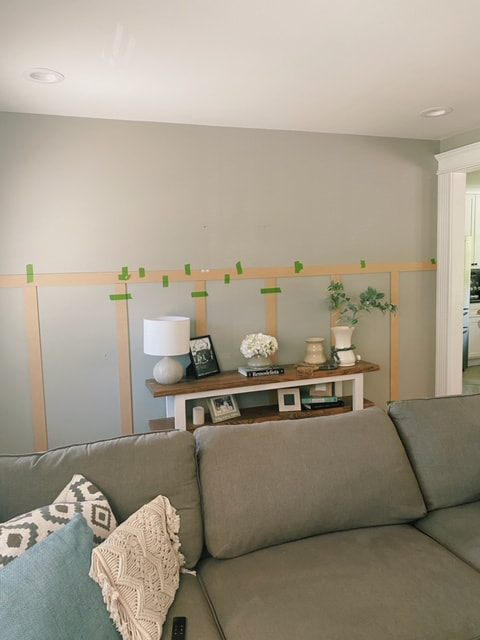
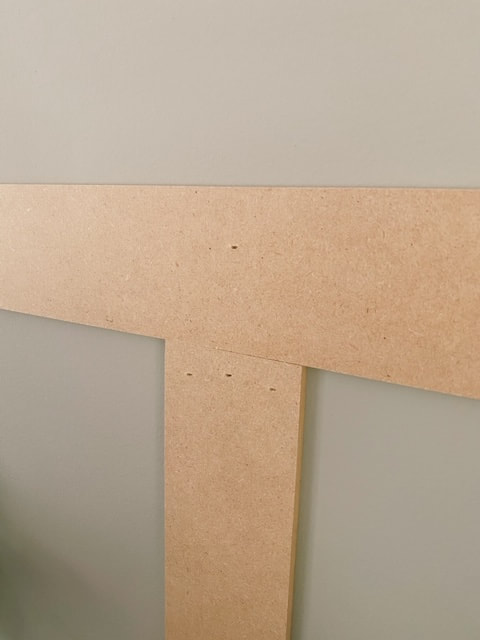
 Board and Batten is a beautiful and super easy wall application to do yourself. It’s timeless in design, adds SO much character to a blank wall, and I did it all by myself in one weekend! It's no secret that I've had a hard time connecting with this house. Our house on Dresden gave me all the feels the second we walked in the door for our first viewing. It was an older home, built in 1913. This new house was missing that old charm and the character I loved so much. We've been here for over a year now, and honestly, I'm not sure why it's taken me so long to get a move on adding in that charm? Sure, I'm a Mom now and that takes a lot of time and energy. But now I'm ready to move at a rapid pace to love where I live. First stop, the entry wall. Step 1: Find Your Desired Dimensions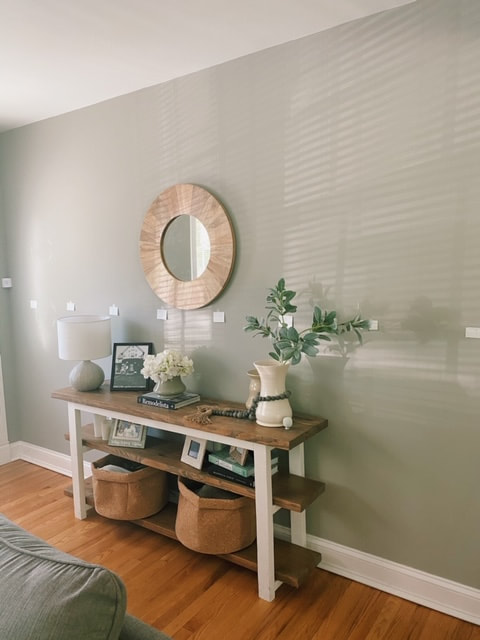 After lots and lots of research, I was finding that many other DIYers were using 3" boards, and spacing them out 13 inches. I measured out 3 inches on a sheet of paper, and cut them out so that I could visually see if I liked how it looked on my wall. Because these MDF cuts are so lightweight, there really was no need to attach these to the studs. I mean, if painter's tape can hold them up, you're good. 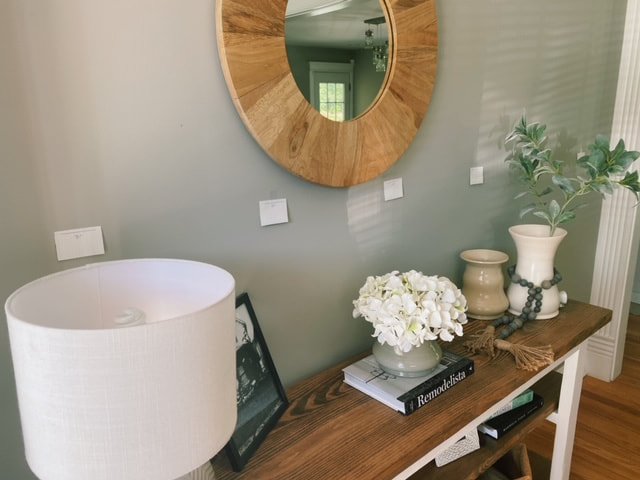 Step 2: Test RunThe spacing looked good, but once I started taping my MDF boards in place before nailing in, I realized the spacing wasn't working well with my outlet, so I adjusted them as needed to work better with my space. I ended up using 6 boards, spaced 18 inches apart. If I could tell you only one important thing for this entire project, it's to TAPE YOUR BOARDS TO THE WALL BEFORE ATTACHING WITH NAILS. Had I not, I would've been cutting around an outlet...which is more annoying than anything. 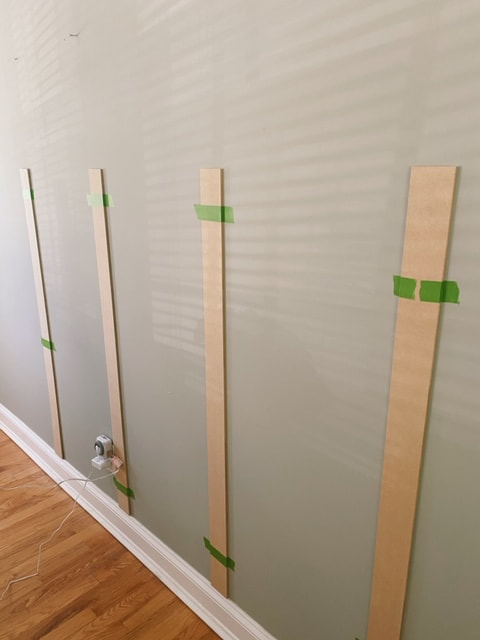 Step 3: Level UpAlso, it's extremely important to make sure your boards are level!! Can you imagine how this would look if you got lazy with this step?! I'll save you the imagination and just say it would be bad. Really bad! 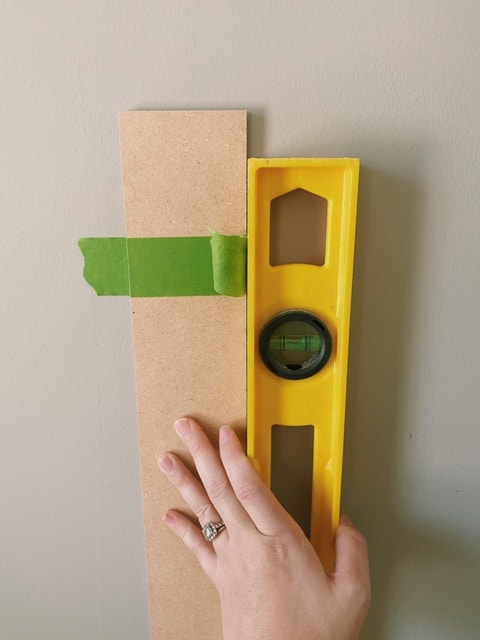 Step 4: Nail Boards to WallFor this step, I borrowed the Hubby's nail gun. You can complete this step with a good ole' fashioned hammer and nail combo, but if you have access to a nail gun, it's a no brainer. This step went SO quickly!
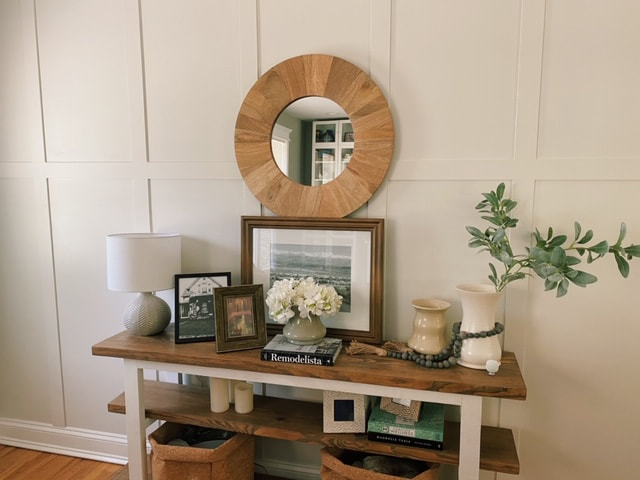
Step 5: Assess Your WorkAfter it was all up, I stood back to see if I was satisfied. Let's just say that I was more satisfied with Lenna actually smiling for the camera than I was with the wall. Our ceilings at our house on Dresden were 9ft tall. This house is the standard 8, and I miss the drama the tall ceilings gave. So I decided to bring the board and batten ALL the way up! 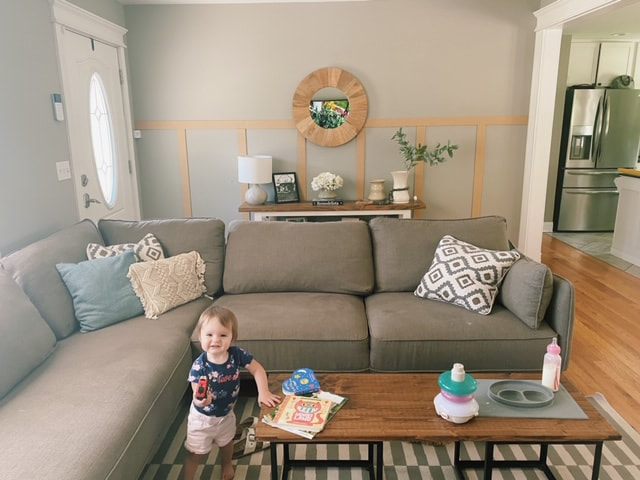 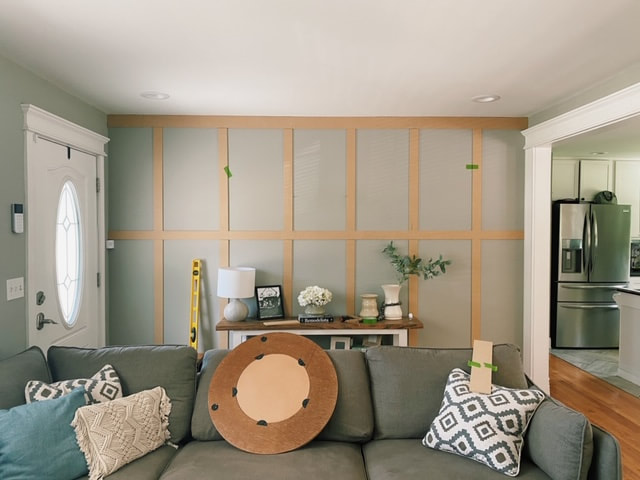 I decided that I really liked the look of two (uneven) sections. Both are rectangular, but the bottom half of the wall is a taller section than the top. I know a lot of board and batten applications feature a square section, but I just didn't like how it looked in my space. 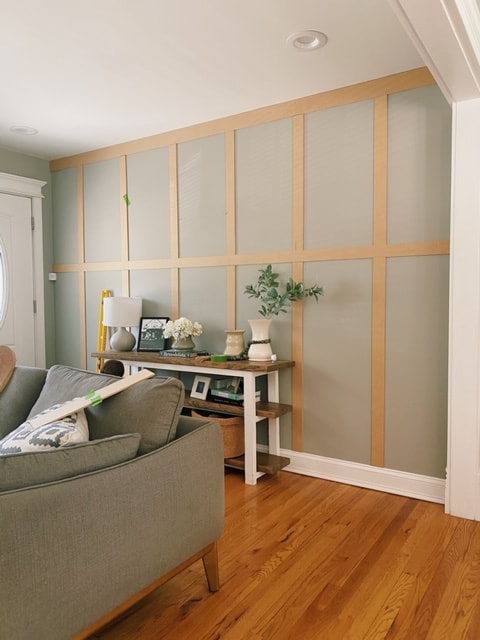 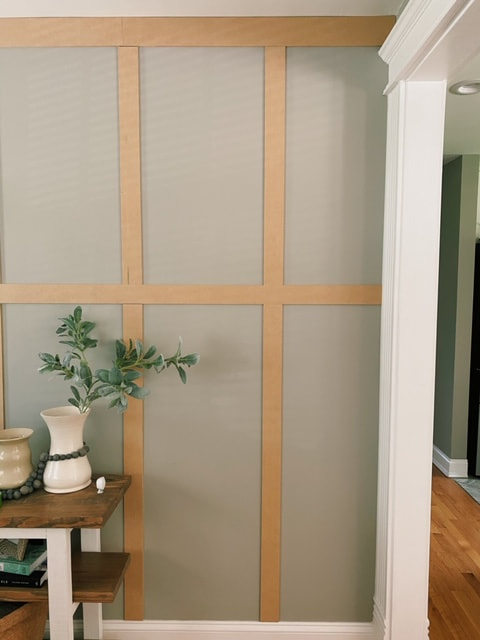 Step 6: Finishing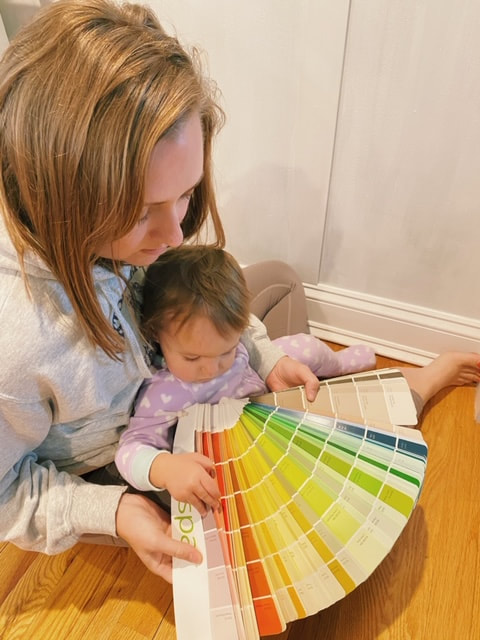 Filling nail holes, sanding everything down, and painting. This step was BY FAR my least favorite. -Although I loved that Lenna was so anxious to get in and help me choose the perfect paint color! ;) It's not that any of this was hard to do. It was just so much more time consuming than everything. The details really do matter here because if you don't use a little finesse, you'll see it. My biggest obstacle here was the walls themselves. Although these walls are newer than the walls in Dresden, they weren't perfectly straight. There's a spot right at the front door where the MDF boards didn't meet up perfectly due to a curve in the wall, but since the wall and the boards are painted the same color, you really can't tell. 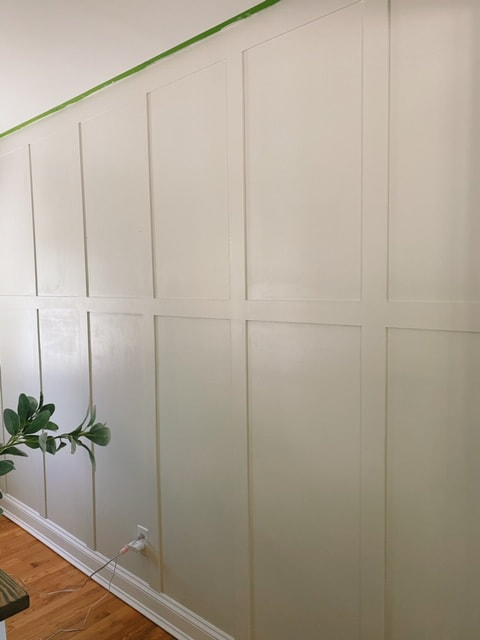 I struggled a little choosing a paint color for this wall. I wanted to go with a traditional white, but when I got it up on the wall, you lost the beautiful detailing of the trim. I thought about a dark accent wall, but since our space is so small, I was afraid it would be too dramatic. I don't know, I may change my mind down the road. With the help of my Instagram followers, I landed on a color very similar to a color we used over at Dresden. The color is Benjamin Moore Dove Wing. It's a creamy white, and in my space, works well with the grey walls we have everywhere else. ...although I'm now thinking that I love the reminder of Dresden SO much, I may paint the rest of the house this color too. And maybe then I'll change the color of this entry wall. Stay tuned!
0 Comments
|